
Tired of hunting for leashes, treats, and that missing brush five minutes before a walk?
Scattered supplies slow your routines, attract pests, and make feeding or grooming twice as hard.
This post gives a clear, step-by-step plan: quick declutter steps, smart storage picks, food and toy tips, grooming kits, and room-by-room setups so you can find what you need fast and keep your home tidy.
No fancy tools, just practical steps you can do in 30 minutes.
Immediate Steps to Organize Pet Supplies Efficiently at Home

Before you organize anything, you’ve got to declutter. Scattered supplies attract pests, hold onto odors, and turn simple stuff like feeding or grabbing the leash into a twice-as-long hassle. Clear out what you don’t use and group what you do. Every daily routine gets quicker and cleaner.
Start by gathering all pet items into one staging area. Food bags, half-used treat boxes, toys from under the couch, grooming tools, medications, bedding, waste bags, travel carriers. Once everything’s visible, sort it into six categories: food and treats, toys and enrichment, grooming and care, medications and first aid, waste and clean-up supplies, and travel containers. If you’ve got more than one pet, create separate piles for each animal when items are pet-specific (think prescription meds or special-diet food).
After sorting, go through each pile and decide what stays. Toss expired food and medications. Broken or sharp-edged toys. Chewed leashes. Duplicate items you haven’t touched in months. This final step cuts clutter before you spend a dollar on bins or shelves.
- Set a timer for 30 minutes and collect every pet item in the house into one room or corner.
- Sort items into six labeled piles or boxes: food/treats, toys, grooming, meds/first aid, waste/clean-up, travel.
- Check expiration dates on food bags, treats, and medications. Discard anything past its date or opened more than 12 months ago.
- Inspect toys for broken parts, sharp edges, or loose stuffing. Throw out unsafe pieces.
- Count how many duplicate items you have (extra brushes, unused collars) and keep only what you actually use.
- Move forward with only the items you kept. Donate gently used extras if appropriate, or discard the rest responsibly.
Storage Solutions for Pet Supplies That Keep Your Home Tidy
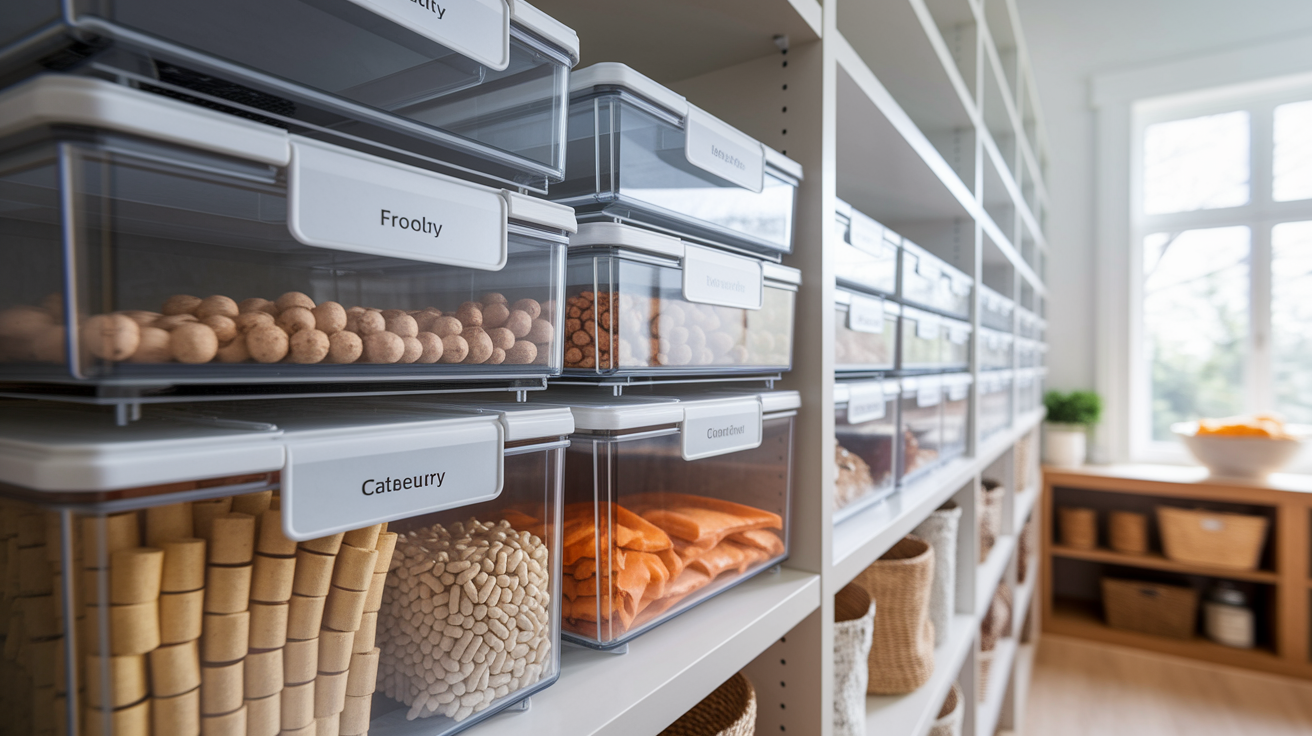
Clear, labeled, and stackable containers turn chaos into order. When you can see what’s inside each bin and quickly grab what you need, daily feeding, play, and grooming routines stop feeling like scavenger hunts. Stackable storage frees up floor space, too. Doesn’t matter if you’re in a studio or a house with a garage.
Choose storage types based on how much you own and where you’ll use it. Small households with one cat might need a single airtight food container and two small bins (one for toys, one for grooming supplies). Multi-pet homes or those buying food in bulk will benefit from larger shelving units, rolling carts, and dedicated closets. Match the size of the container to the category. Lightweight toys fit in shallow bins, bulky bedding needs deeper totes, and food stays freshest in airtight canisters with secure lids.
Airtight food containers (10–50 lb capacity): Seal out moisture and pests. Label the outside with food type and purchase date. Price range $20–$120 each.
Clear stackable bins (6–18 qt for toys, 30–64 qt for bedding): Let you see contents at a glance and stack vertically to save floor space. Cost $5–$40 each.
Wire or laminate shelving units (24″–72″ tall): Provide adjustable shelf spacing and hold heavy bags. Typical cost $40–$200.
Rolling utility carts (2–4 tiers): Make grooming supplies portable between rooms. Price $25–$75.
Pegboard systems (24″x32″ or larger): Mount on walls to hang leashes, brushes, and small tool pouches. Total kit cost $20–$60.
Drawer dividers or caddy trays: Separate small items like nail clippers, tick removers, and cotton pads inside drawers. $10–$30 for caddies.
Large bedding bins (30–64 qt): Store folded blankets, extra beds, or seasonal coats. Often stackable.
Over-the-door organizers (8–12 pockets): Hang on pantry or closet doors to hold small bottles, treat bags, and waste-bag rolls. Cost $10–$35.
Pet Food and Treat Storage Ideas for a Cleaner, Safer Home
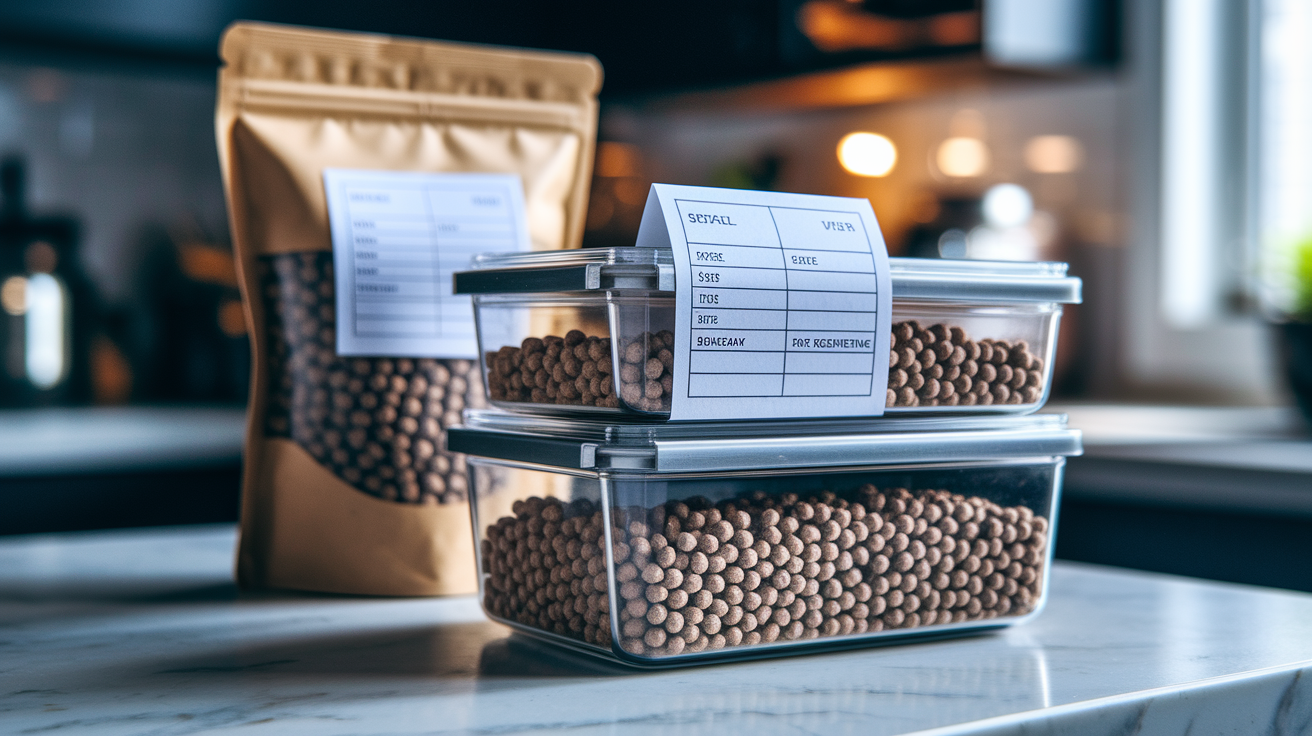
Transfer open food bags into airtight containers as soon as you bring them home. Stops pests, locks in freshness, prevents spills. For extra safety and label reference, slide the original bag into the container so you always have the ingredient list, batch number, and expiration date on hand.
Treat storage should match how often you use them. Keep one small airtight jar in the kitchen for mealtime rewards, another in the living room for training sessions, and a third near the entryway for post-walk treats. Label each container with the treat type and the date you opened it. Most dry treats stay fresh for three to six months once opened, but moisture and warmth speed up spoilage.
Prevent pests and odors by storing bulk bags on shelves at least four to six inches off the floor, especially in garages or basements. Wipe down container lids weekly and use silicone placemats under food bowls to catch spills and simplify cleanup.
| Item | Recommended Storage Method | Notes |
|---|---|---|
| Dry kibble (open bag) | Airtight container (10–50 lb capacity); keep original bag inside | Label with food type and expiration date; rotate within 6–12 months |
| Canned food (unopened) | Pantry shelf or stackable bin | Check “best by” dates every three months |
| Canned food (opened) | Refrigerator in sealed container or with snap lid | Use within 3–5 days |
| Training treats | Small airtight jar (1–2 cup size) in kitchen or living room | Distribute across rooms where you train; label with open date |
| Bulk treat bags | Sealed container or resealable bag in pantry | Freeze for 24–48 hours if you suspect mold risk before storing |
Organized Toy Storage Ideas to Reduce Clutter
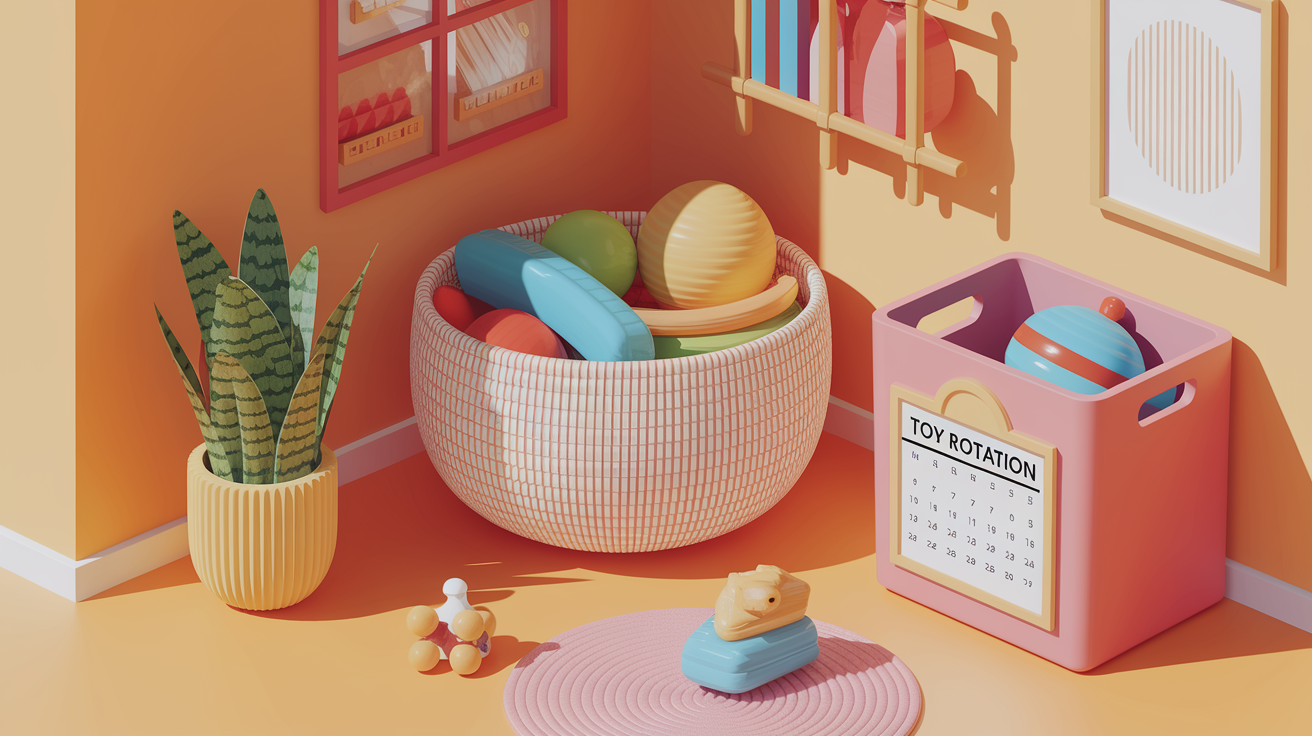
Keep six to ten toys out and rotate the rest. Pets lose interest when every toy’s always available, and you lose floor space to the clutter. Store extras in labeled bins and swap them out weekly. This routine keeps playtime engaging and your rooms tidy.
Use one decorative basket or bin in each main living area for daily toys. A painted wine crate near the couch or a stylish woven basket by the back door makes cleanup fast and keeps the mess contained. At the end of each day, toss loose toys back into the basket. Once a week, pull out that basket and swap half the toys for pieces from your rotation bin.
- Count all toys and sort by type: plush, rubber, rope, puzzle feeders, balls.
- Select six to ten favorites or most-used toys to keep in active rotation.
- Store the rest in a labeled bin with a lid. Note “Toy Rotation” and the current week or date on the label.
- Place one open basket or crate in each room where your pet plays.
- Every seven days, swap out half the active toys for pieces from the rotation bin to maintain novelty.
- Discard any toy with loose parts, exposed stuffing, sharp edges, or strong odors during each rotation check.
Grooming, Cleaning, and Hygiene Supplies Organization

Centralizing grooming supplies means you’re never hunting for nail clippers mid-trim or digging through cabinets for shampoo. A portable caddy with three to six compartments holds brushes, clippers, ear cleaner, styptic powder, and a small towel. Carry the caddy to wherever you groom, whether that’s the tub, the backyard, or the laundry room floor.
For households with dedicated grooming space, a rolling cart works even better. Load the cart with full-size shampoo bottles, multiple brush types, blow dryer, grooming scissors, and a bin for dirty towels. Roll it out when you need it and tuck it into a corner or closet when you’re done. Wash bins and caddies monthly with warm soapy water to remove hair and product residue. Check expiration dates on shampoos and ointments every one to three months.
Portable Grooming Kit
Assemble one grooming kit per pet, or create a shared household kit if your pets have similar coat types and health needs. Start with a slicker brush or comb suited to your pet’s fur. A pair of nail clippers sized correctly (small for cats and tiny dogs, large for bigger breeds). A travel-size bottle of pet shampoo or a sample packet, and styptic powder to stop bleeding if you clip a nail too short. Add a small microfiber towel, a tick remover if you live in a tick-prone area, and a printed card listing your pet’s coat-care schedule and any known skin sensitivities. Store the kit in a handled caddy or zippered tote so you can grab it quickly for baths, nail trims, or post-hike cleanups.
Room-by-Room Pet Supply Organization at Home

An entryway or mudroom pet station keeps walk gear ready. Mount three to five hooks on the wall at 48 to 60 inches from the floor for leashes, collars, and harnesses. Add a small basket or wall-mounted pocket for poop bags, a flashlight, and a few treats. When everything lives in one spot near the door, you’ll never delay a walk searching for supplies. For mudroom ideas that blend pet storage with general household organization, see How to Organize Your Mudroom.
In the kitchen or pantry, dedicate one shelf to pet food. Place your airtight food container front and center, a treat jar within easy reach but out of paw range, and a measuring scoop on a small hook. If you’ve got multiple pets, label each container with the pet’s name and the food type so you never mix diets.
Laundry rooms and utility areas work well for grooming stations and bulk storage. Set up a three-tier rolling cart with grooming tools on top, cleaning supplies in the middle, and spare towels on the bottom. Store large food bags in sealed bins on the lowest shelf of a sturdy shelving unit, keeping bags at least four to six inches off the floor to avoid moisture and pests.
Garages handle overflow and seasonal items. Use wire shelving to keep bulk bags elevated and clearly visible. Store travel crates, extra bedding, and winter coats on upper shelves. Keep everyday supplies indoors where temperature and humidity stay stable.
Small apartments and homes benefit from under-bed rolling bins. A 30 to 40-liter bin slides under most beds and holds off-season blankets, backup toys, or a few weeks’ worth of food in airtight containers. Pair this with vertical shelving and over-the-door organizers to multiply your storage without claiming floor space.
Entryway: Wall hooks for leashes and collars, one basket for bags and treats, bench with hidden storage for shoes and portable pet gear.
Kitchen/Pantry: Airtight food containers on a labeled shelf, treat jar on counter (secured from pet access), measuring tools on hooks.
Laundry/Utility Room: Rolling cart for grooming, bulk food bins on lower shelves, towel bar or hooks for drying pet towels.
Garage: Elevated wire shelving (food bags 4–6″ off floor), travel crates and carriers on high shelves, seasonal coats and bedding in labeled bins.
Bedroom/Living Room: Under-bed bins for extra blankets and toys, decorative baskets for daily toys, folded pet blanket on couch or chair.
DIY Pet Storage Projects You Can Build on a Budget
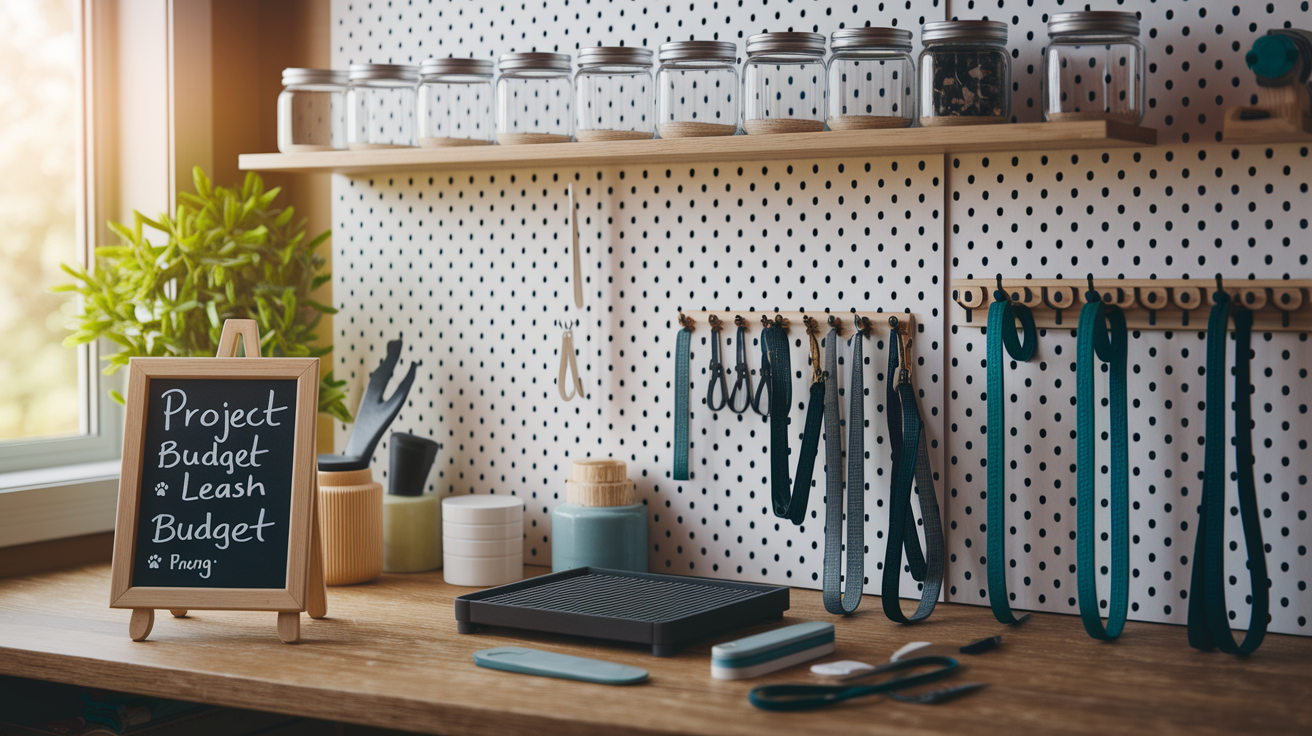
A pegboard grooming station gives you a custom tool wall for less than $60. Buy a 24-by-36-inch pegboard panel, a set of assorted hooks, and a small shelf bracket. Mount the board in your laundry room or garage, hang brushes and clippers on hooks, and use the shelf for shampoo bottles. Total cost runs $20 to $60 depending on hardware quality.
Mason jars make excellent treat dispensers. Pick up three or four wide-mouth jars at $3 to $8 each, label them with treat type and open date, and line them up on a kitchen shelf or countertop. The clear glass lets you see when supplies run low, and the airtight seal keeps treats crunchy.
Tension rods installed inside a closet or entryway cabinet create instant leash storage. A single rod costs $10 to $20 and holds multiple leashes, collars, and small harnesses without drilling permanent holes. For more vertical space, add under-bed rolling drawers. These low-profile bins, often 10 to 20 inches high, add two to four extra storage zones under beds or couches. One pet parent repurposed an old armoire by removing interior shelves, installing pull-out acrylic bins for medications and grooming tools, and adding wall hooks inside the door for leashes and outfits. The closed-door design hid clutter completely while keeping supplies organized and accessible.
- Pegboard grooming station: 24″x36″ board, hooks, small shelf. $20–$60 total. Mount in laundry or utility room.
- Mason-jar treat storage: $3–$8 per jar. Label lids. Line up on open shelving for quick refills.
- Tension-rod leash rack: $10–$20. Install inside cabinet or closet for no-drill hanging storage.
- Under-bed rolling drawers: 10–20″ high bins. Add 2–4 storage zones. Great for bedding and backup toys.
- Repurposed furniture: old armoire or side table. Add bins, hooks, pull-out drawers for a centralized pet-supply hub.
Medication, Records, and First Aid Storage for Pet Safety
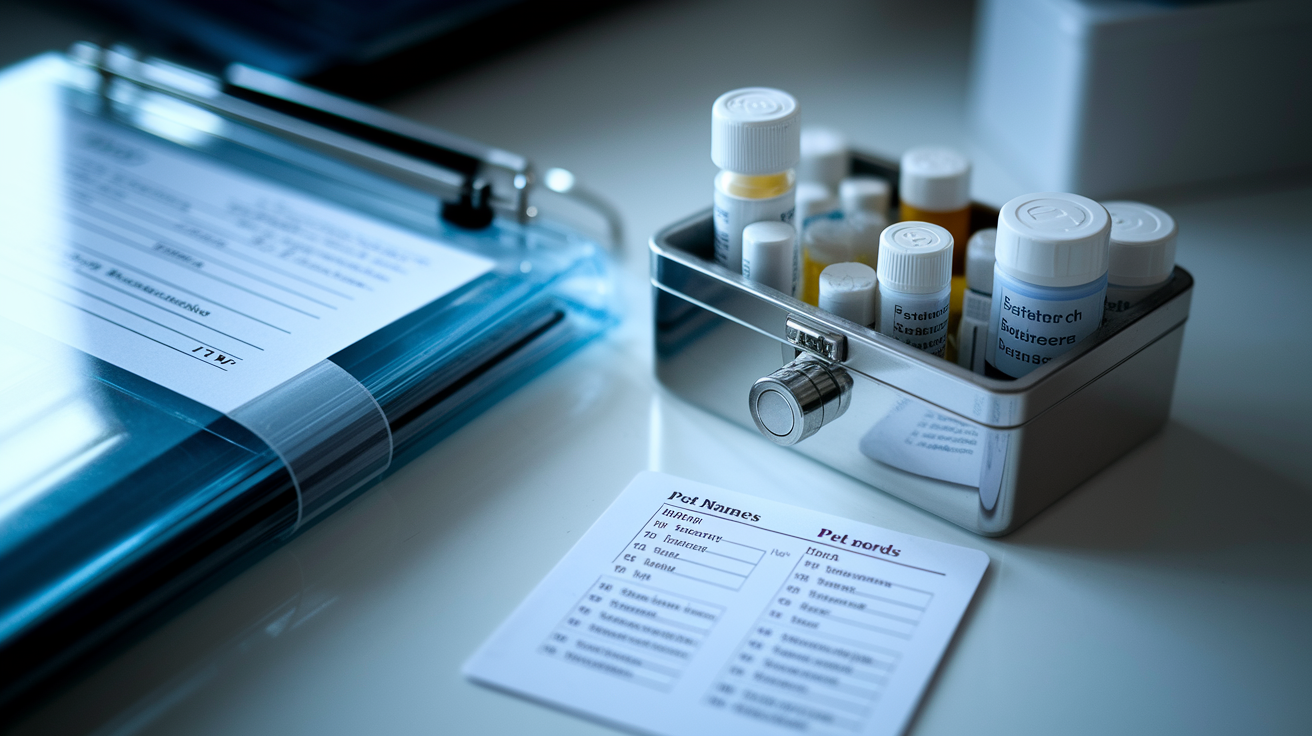
Store medications in a small lockable box, roughly six by nine by three inches, to keep pills and liquids out of reach of children and curious pets. Keep every medication in its original packaging so dosage instructions, expiration dates, and veterinary contact numbers stay intact. Check expiration dates every three months and dispose of outdated medications according to your vet’s or pharmacist’s guidance.
Don’t store meds in bathrooms where humidity can degrade pills and liquids. A bedroom drawer, hallway closet shelf, or kitchen cabinet away from the stove works better. Keep a printed dosing card inside the lockbox listing each medication name, dose amount, time of day, and your vet’s phone number. If someone else needs to give meds in an emergency, that card removes all guesswork.
First Aid Essentials
A basic pet first-aid kit should include six to eight core items you can grab in a hurry. Pack sterile gauze pads, medical tape, a digital thermometer, tweezers for splinter or tick removal, saline solution for flushing eyes or wounds, a small tube of antibiotic ointment approved for pets, a muzzle or soft cloth (even friendly pets may bite when hurt), and a copy of your pet’s vaccination records in a sealed plastic bag. Store the kit in a labeled zippered pouch or small hard-shell case, and place it where everyone in the household knows to find it. Update supplies and check expiration dates on ointments and saline every six months. Add any prescription emergency meds your vet recommends for conditions like seizures or severe allergies.
Setting Up Maintenance Routines for Long-Term Organization
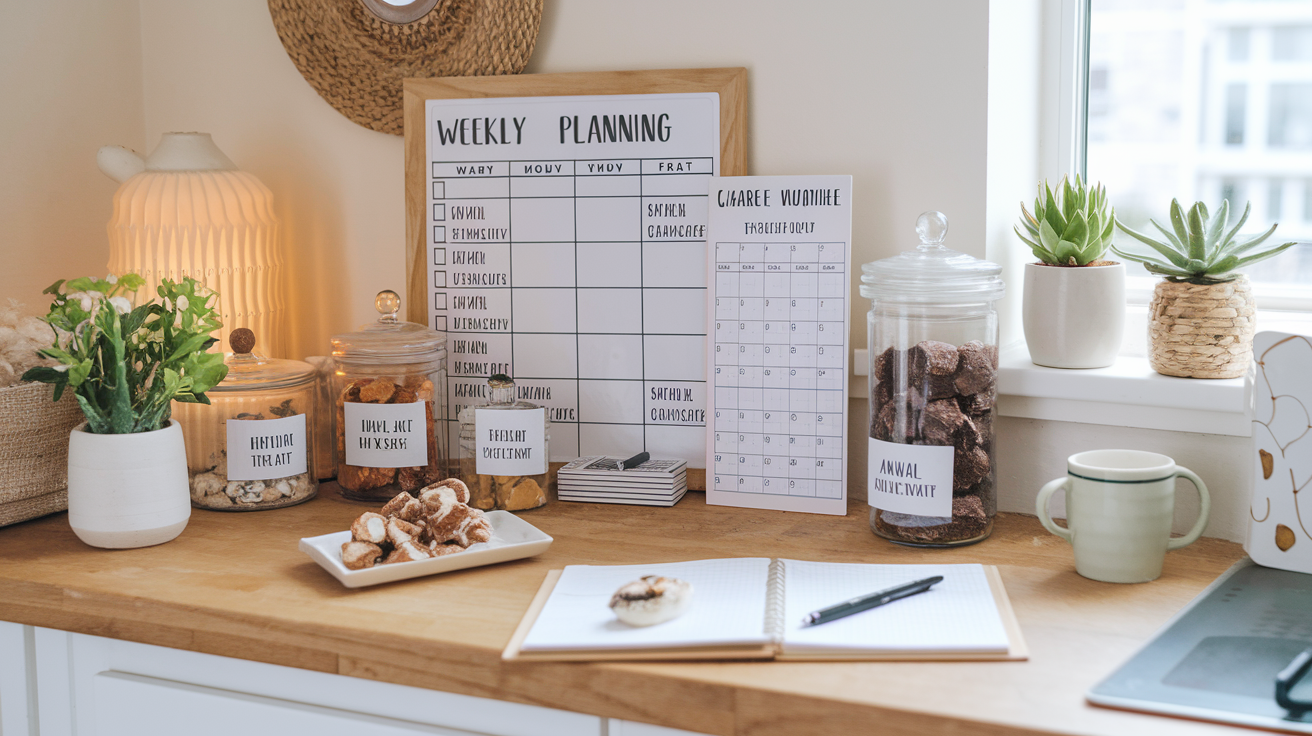
Weekly tidying takes five to ten minutes. Restock treat jars, wipe down food-container lids, toss loose toys back into baskets, and refill poop-bag dispensers. This small habit keeps clutter from creeping back and makes sure you never run out of daily essentials mid-week.
Monthly inventory adds 15 to 30 minutes to your routine. Check food and treat expiration dates, count remaining meals or servings, rotate toys if you skipped a week, wash storage bins and caddies, and confirm medication supplies match your dosing schedule. Make a shopping list during this session so you can reorder before you’re completely out.
Annual purges take one to two hours but reset your entire system. Pull everything out, discard broken toys, expired products, outgrown collars, worn-out bedding, and duplicate items. Wipe down shelves, vacuum bins, and re-label containers that have faded. Donate gently used items like unopened food bags (if your local shelter accepts them), spare leashes, or toys your pet ignored. This yearly deep clean prevents storage from turning back into clutter.
Weekly (5–10 minutes): Restock treat containers, wipe lids, return stray toys to bins, refill waste-bag dispensers.
Monthly (15–30 minutes): Check expiration dates on food and meds, count servings left, wash bins and caddies, make a shopping list.
Quarterly (30–60 minutes): Rotate toy selection, purge broken or unsafe items, check grooming-product expiration, reorganize one problem area.
Annually (1–2 hours): Empty all storage, discard expired or worn items, deep-clean shelves and bins, donate extras, refresh labels and inventory cards.
Final Words
Start with a 15–30 minute audit: gather everything, sort into food, toys, grooming, meds, waste, and travel, and toss expired or broken items.
Then pick clear bins, rolling carts, and pegboards that fit each zone, set up room-specific stations, and make a simple grooming and meds caddy for easy access.
Keep a weekly 5–10 minute tidy, monthly inventory, and an annual purge. That’s the heart of how to organize pet supplies at home, practical, low-stress, and doable. You’ve got this.
FAQ
Q: What is the 25 rule for pet food?
A: The 25 rule for pet food means keep treats and extras to about 25% or less of your pet’s daily calories, so the main diet stays balanced and meets nutritional needs.
Q: How do I organize my dog’s stuff?
A: Organize your dog’s stuff by gathering everything, sorting into categories (food, toys, grooming, travel, waste, meds), assigning zones, using labeled bins, and keeping daily items within easy reach.
Q: How to organize dog leashes and harnesses?
A: Organize dog leashes and harnesses by installing wall hooks or a pegboard near the entry, coiling leashes neatly, labeling hooks per pet, and keeping spare harnesses in a small bin or hanging pouch.
Q: Is it better to keep dry dog food in the original bag or in a container?
A: It’s best to keep dry dog food in the original bag placed inside an airtight container — the bag keeps manufacturer information, and the container protects freshness and prevents pests.